
Introduction
Ewon Cosy 131 is an industrial standard VPN device that helps personnel connect to machines remotely. When a machine stops working on the production floor, these devices connect the machine to the internet which then lets the bestpack team access it remotely and attempt troubleshooting. This article will show you how to configure the Ewon Cosy 131 VPN Module.
Requirements
- Ewon Cosy 131 VPN Module
- Laptop
- Internet connection (Wired/Wi-Fi)
- Ethernet cable to connect the laptop to VPN module.
- eBuddy software (Download)
- eCatcher software (Download)
Related articles
- Updating Firmware for Ewon Cosy 131 VPN Module Introduction
- How to setup IP address for Ewon?
- Enabling DAS Through eWON for Machines with COSY 131 Device
- Generating Activation Key for eCatcher Connection to eWON COSY 131
- How to Add LAN Devices to Ewon using eCatcher
Ewon Software Configuration
Note: Ensure your Ethernet settings have DHCP selected as IP Assignment
Open the eBuddy software and click on Open Browser.
Input the Username as “adm” and Password “adm”, and click Login.
For the new eWON setup, the default username and password "adm" is no longer acceptable. When you connect to eWON for the first time, you will use "adm" for both username and password. However, eWON will prompt you to change the default password soon after. From now on, please use the password "Bpon$Goal2024"or "Passw4BestPack1".
This is what the Ewon dashboard should look like. Click on Wizards in the upper right corner.
This will show the three steps required to complete the configuration of your Ewon Cosy 131 on their software. Click on Quick Launch Wizard to proceed.
System
The first screen that will be visible would be the User Setup screen. The password needs to be correctly input here to proceed.
This will take you to the Date and time screen. Fill up the details and click next.
The next page would be the LAN/WAN configuration page. There will be a graphic representation for the device, and you must highlight how the ports are going to be used, for WAN (red
highlight) or for LAN (green highlight). Here are photos of some possible configurations.
Note: If using all four ports for LAN, the device will have to be connected to the internet via Wi-Fi.
Once the ports have been assigned color as required, click Next to reach the diagnosis page.
Once the Diagnosis shows Success, click Next Wizard to go to the next section.
Internet
Once on the Internet connection page, select the correct Interface option.
- Ethernet INTERNET connection: When using Ethernet to connect the laptop to the device, select the Ethernet INTERNET connection option and press Next.
If the connection is DHCP, simply select DHCP from the dropdown and hit Next.
If the connection is Static, manually input the following five fields and hit Next.
- Wi-Fi INTERNET Connection: When using Wi-Fi to connect the device to the internet, select the Wi-Fi INTERNET connection option and press Next.
On the next page, select List under Network selection and input the correct Wi-Fi Network name and Passphrase. Hit Next.
On the next screen press Next to perform Internet connection test.
The test should come back Successful. If it does not, troubleshoot the internet connection and check the wires (if any) connecting the device.
Talk2M
Once the System and Internet are configured through the Wizards, the software will take you to the Talk2M Wizard page.
Note: The Activation Key can be generated through the eCatcher software. Please refer to the next section in the document for the procedure.
Once Activation Key has been generated, input it and press Next.
This will bring you to the Proxy config page. Ignore this page if not using a proxy and hit Next.
Now, the software tries to create an open VPN connection to test if it is working. Give it a minute as it might take some time.
Once the test is a success, the device is ready to be used. If the device cannot connect, the software will tell you where the issue is so you can easily try to troubleshoot it.
Note: in case of fail VPN connection during testing, The Cosy connection to Talk2M is probably blocked by the local firewall. You should ask the local IT team to open the ports/IP/URL described in this doc: Addresses & Ports Used by Talk2M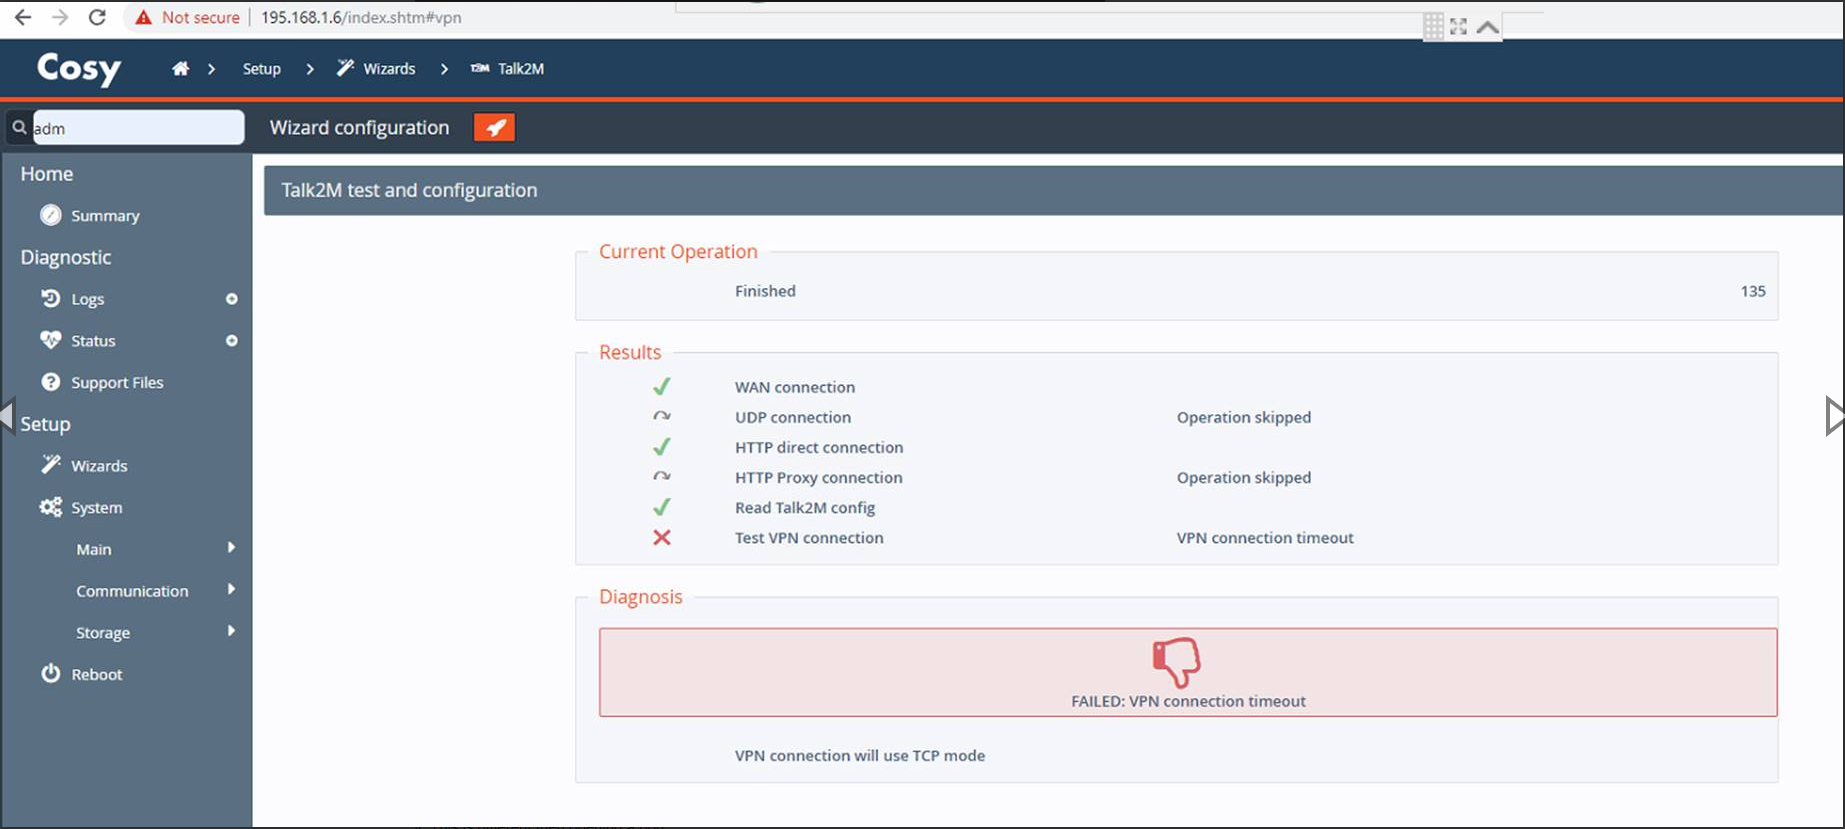
Comments
0 comments
Article is closed for comments.